FUTURE CITY
Codename: ENOK CODEX®
Future City
CONCEPT / EXECUTION
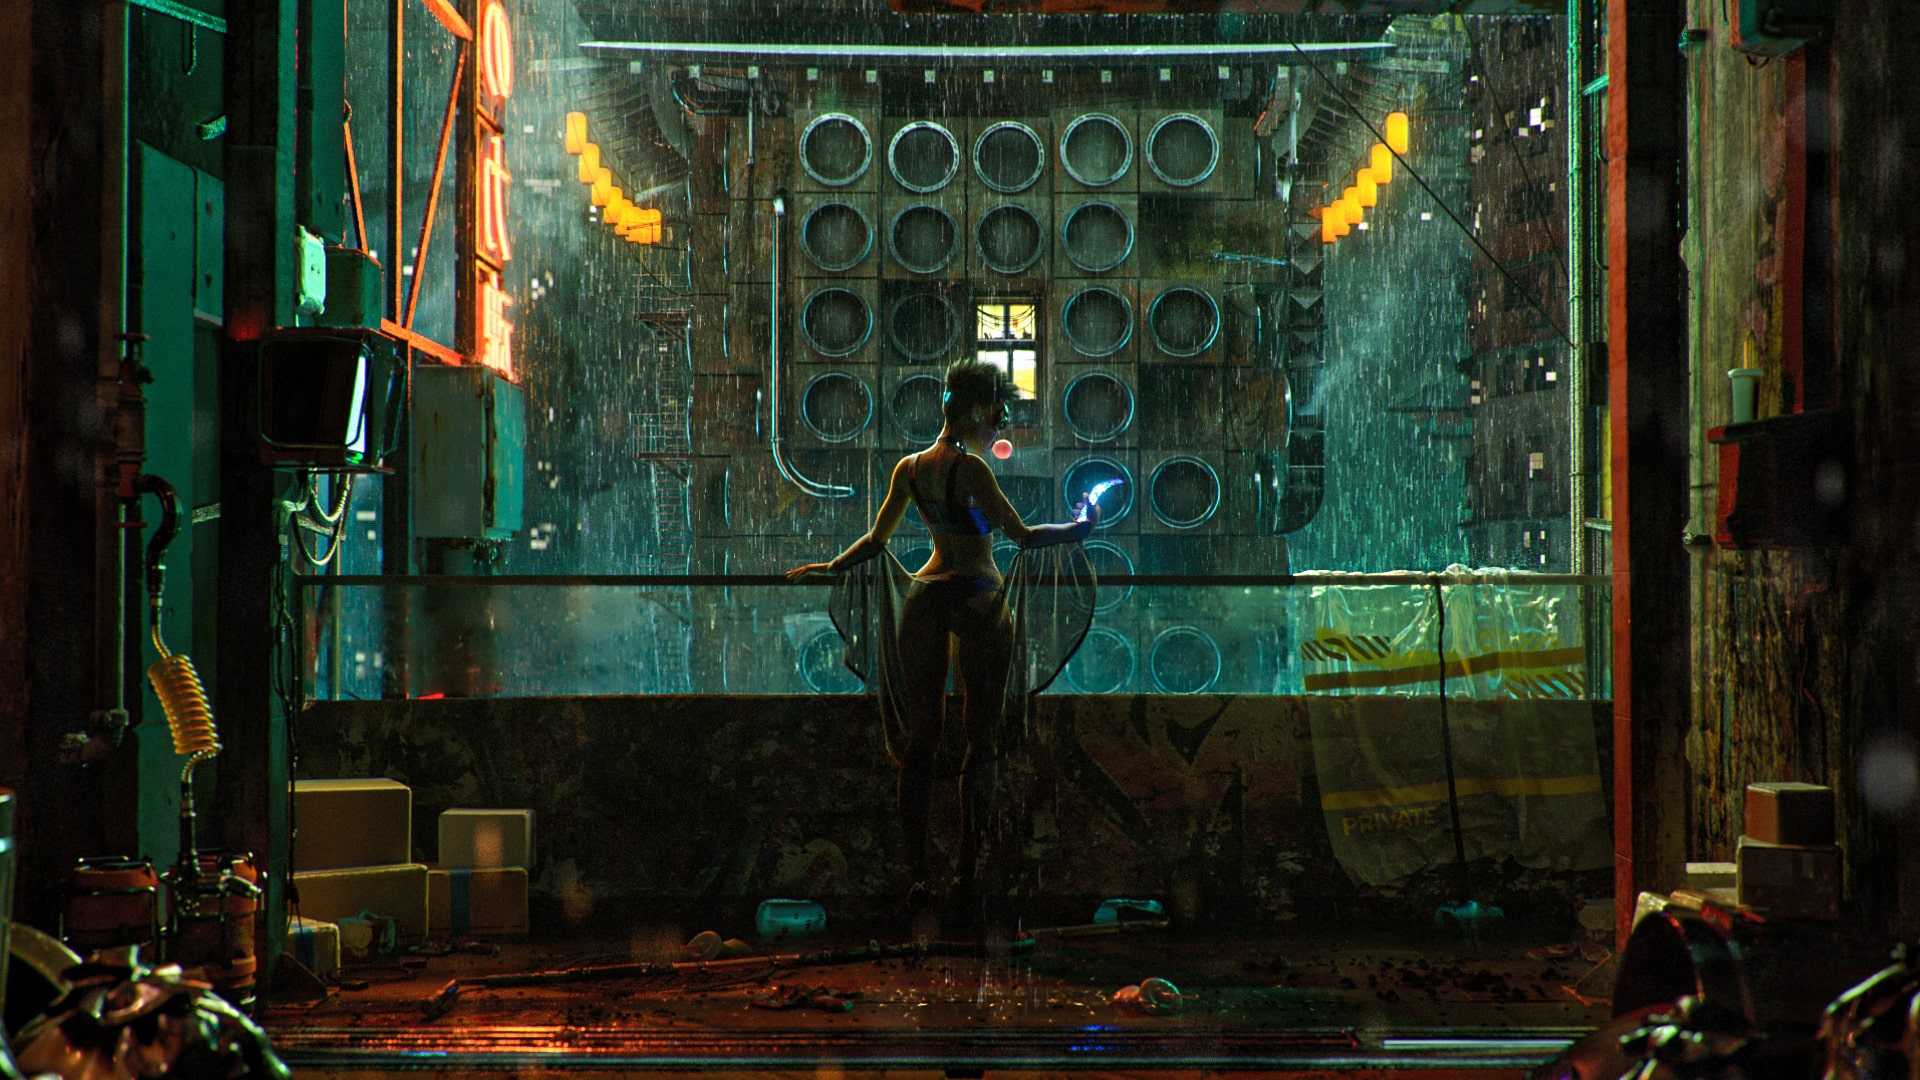
When I started creating Future City, I started by looking at many references of a futuristic yet chaotic city. I was not shy to explore details, I wanted it too look as busy and dirty as it could without compromising the key elements. As any other personal project, it served as learning on multiple areas I wasn’t that knowledgeable.
LIGHTING / COMPOSITION
An area I wanted to explore and get better at was Lighting, this was a complex enough scene to push my limits. There’s 5 lights in this scene and 0 no HDRI working as a light element. Using Octane Render on Cinema 4D Light ID I could lit elements in an object by object instance and let Global Illumination (GI) do the rest of the work.
ASSETS / MODELING
Being a very dense scene, I couldn’t spent months creating it, I modeled the initial stages of the scene, blocking out the main elements. I used 40% assets from available libraries like Quixel Megascans / Kitbash3D and the rest was modeled by me in Maya and Marvelous Designer for the cloth elements.


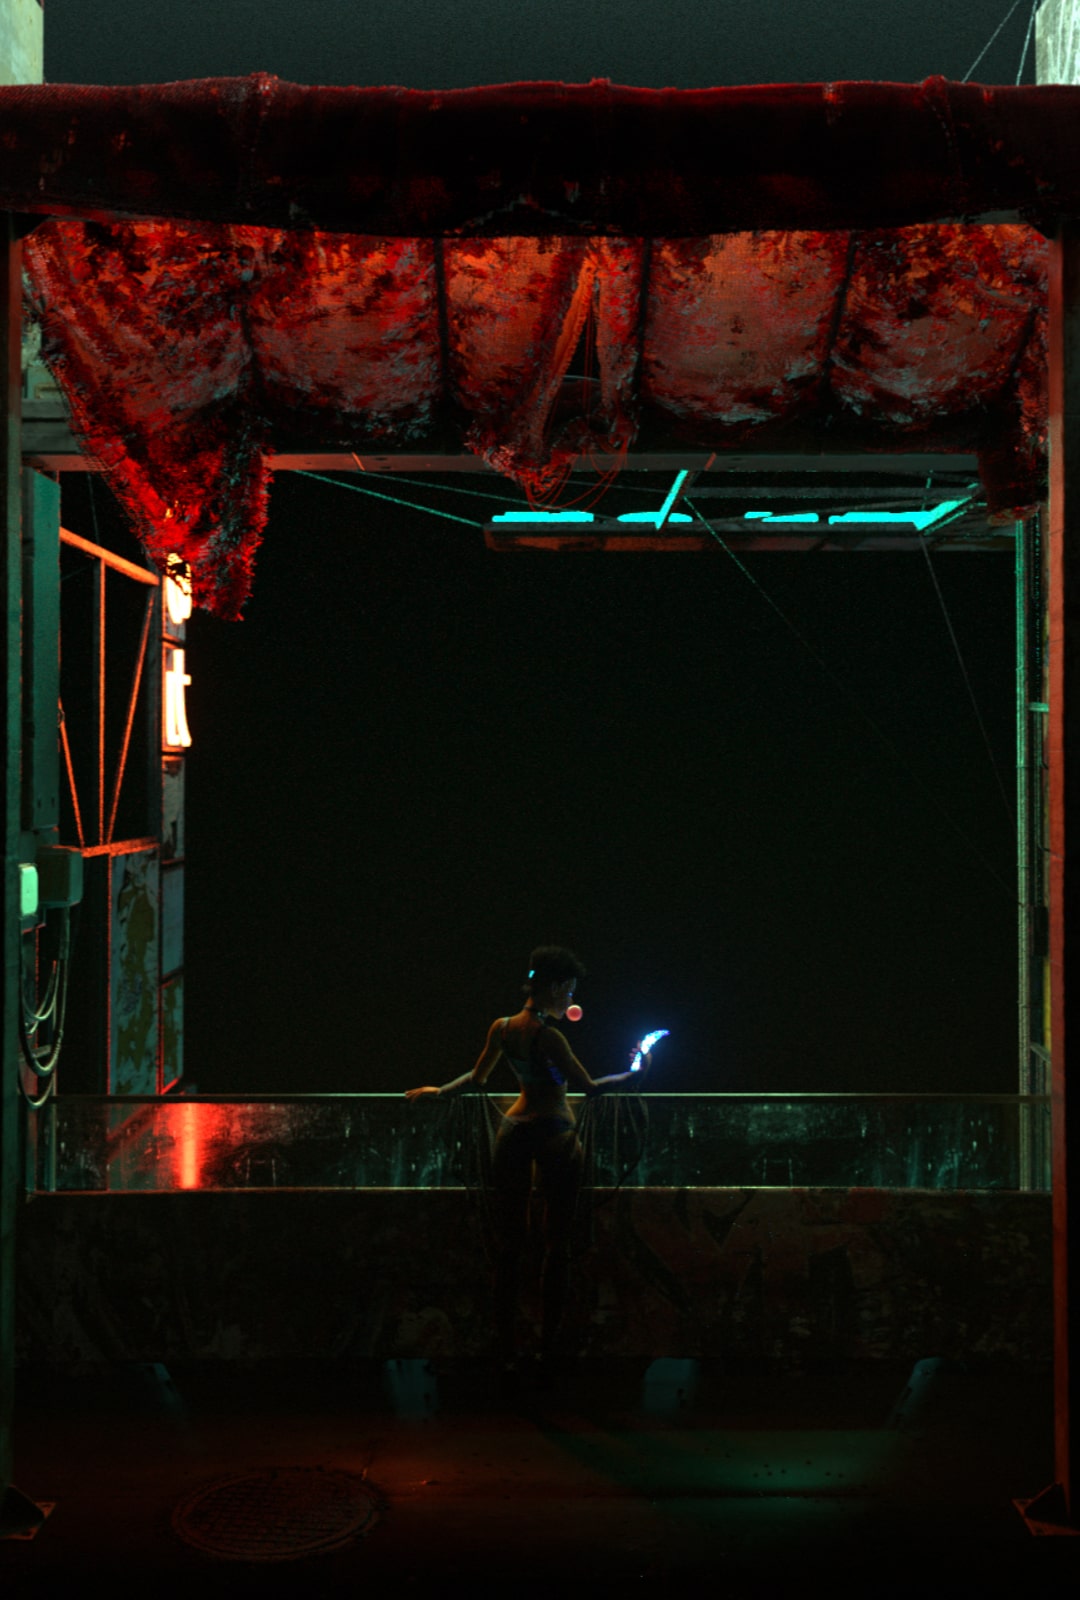
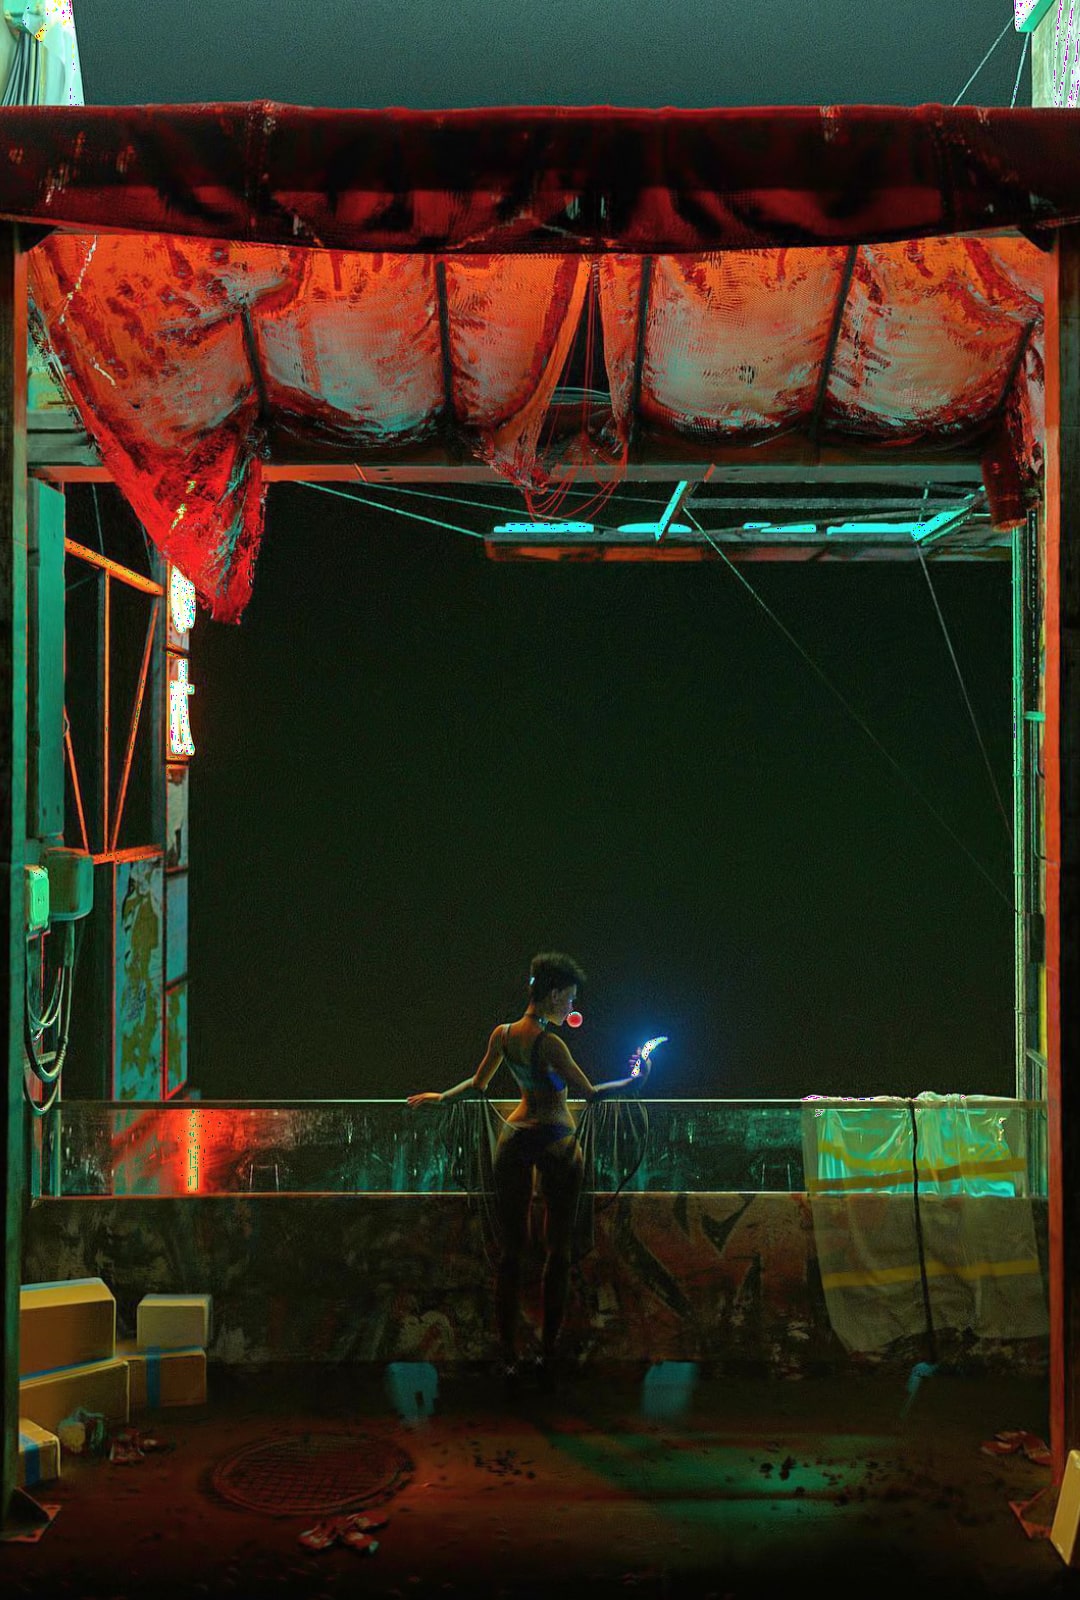
Scene Ambient Occlusion without Textures | Scene Illumination without Texture Diffuse / Albedo Comparison.
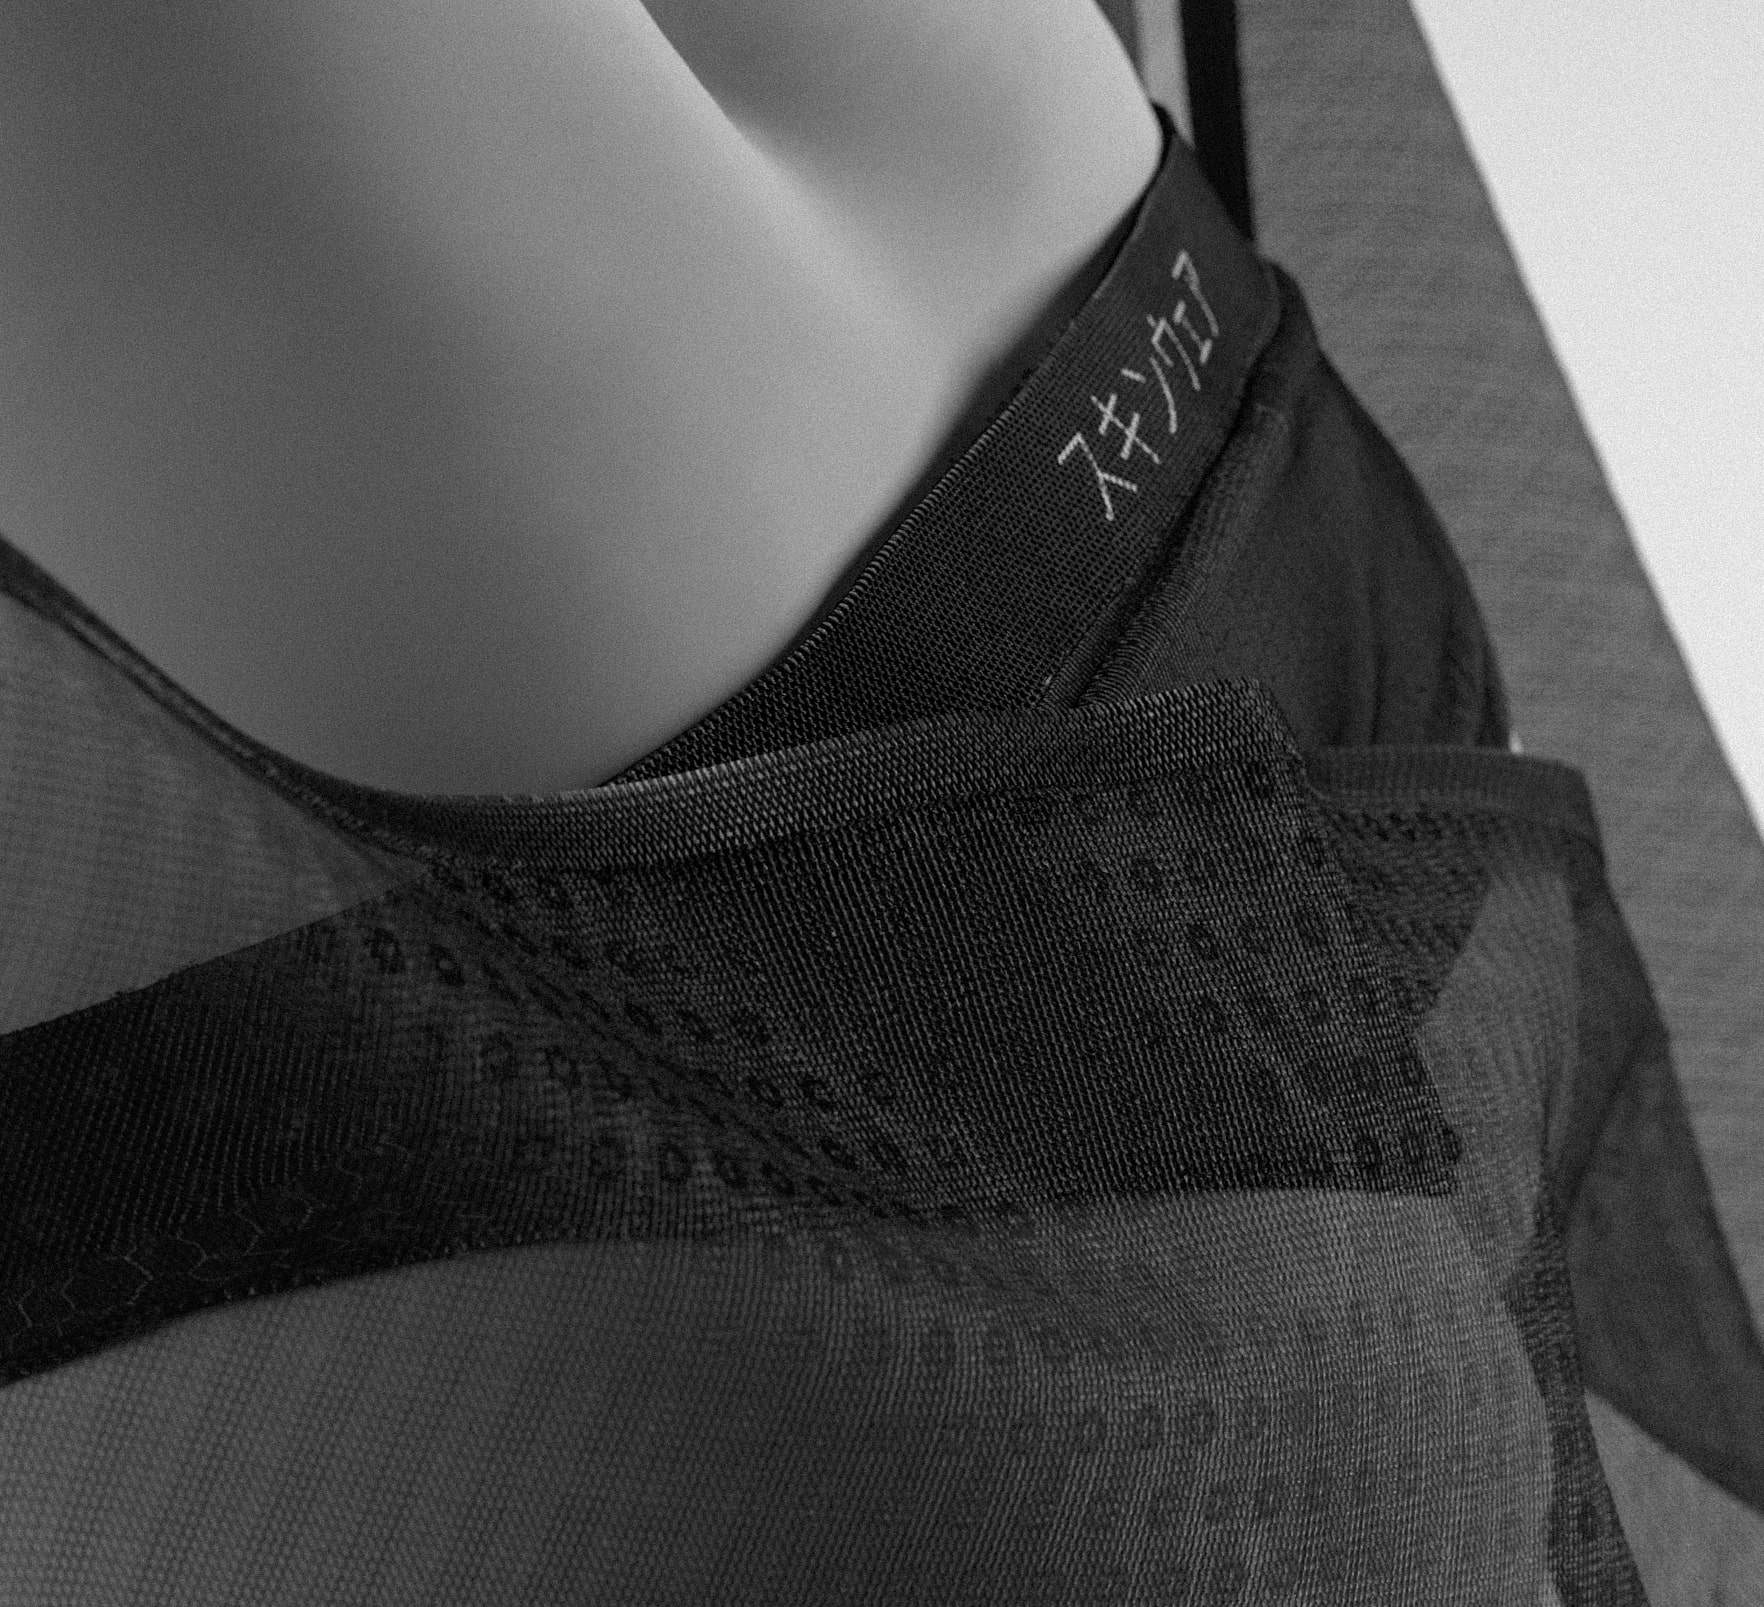
GARMENTS
Character Clothes


CHARACTER
Accesories
The Character had a futuristic device on the hand, and I though it will be a good idea and learning process to explore deeper on a phone design, I chose Samsung as the brand and started exploring on the design, something else that is barely visible yet brought me a lot of knowledge while doing it, other cool ideas came about from it.
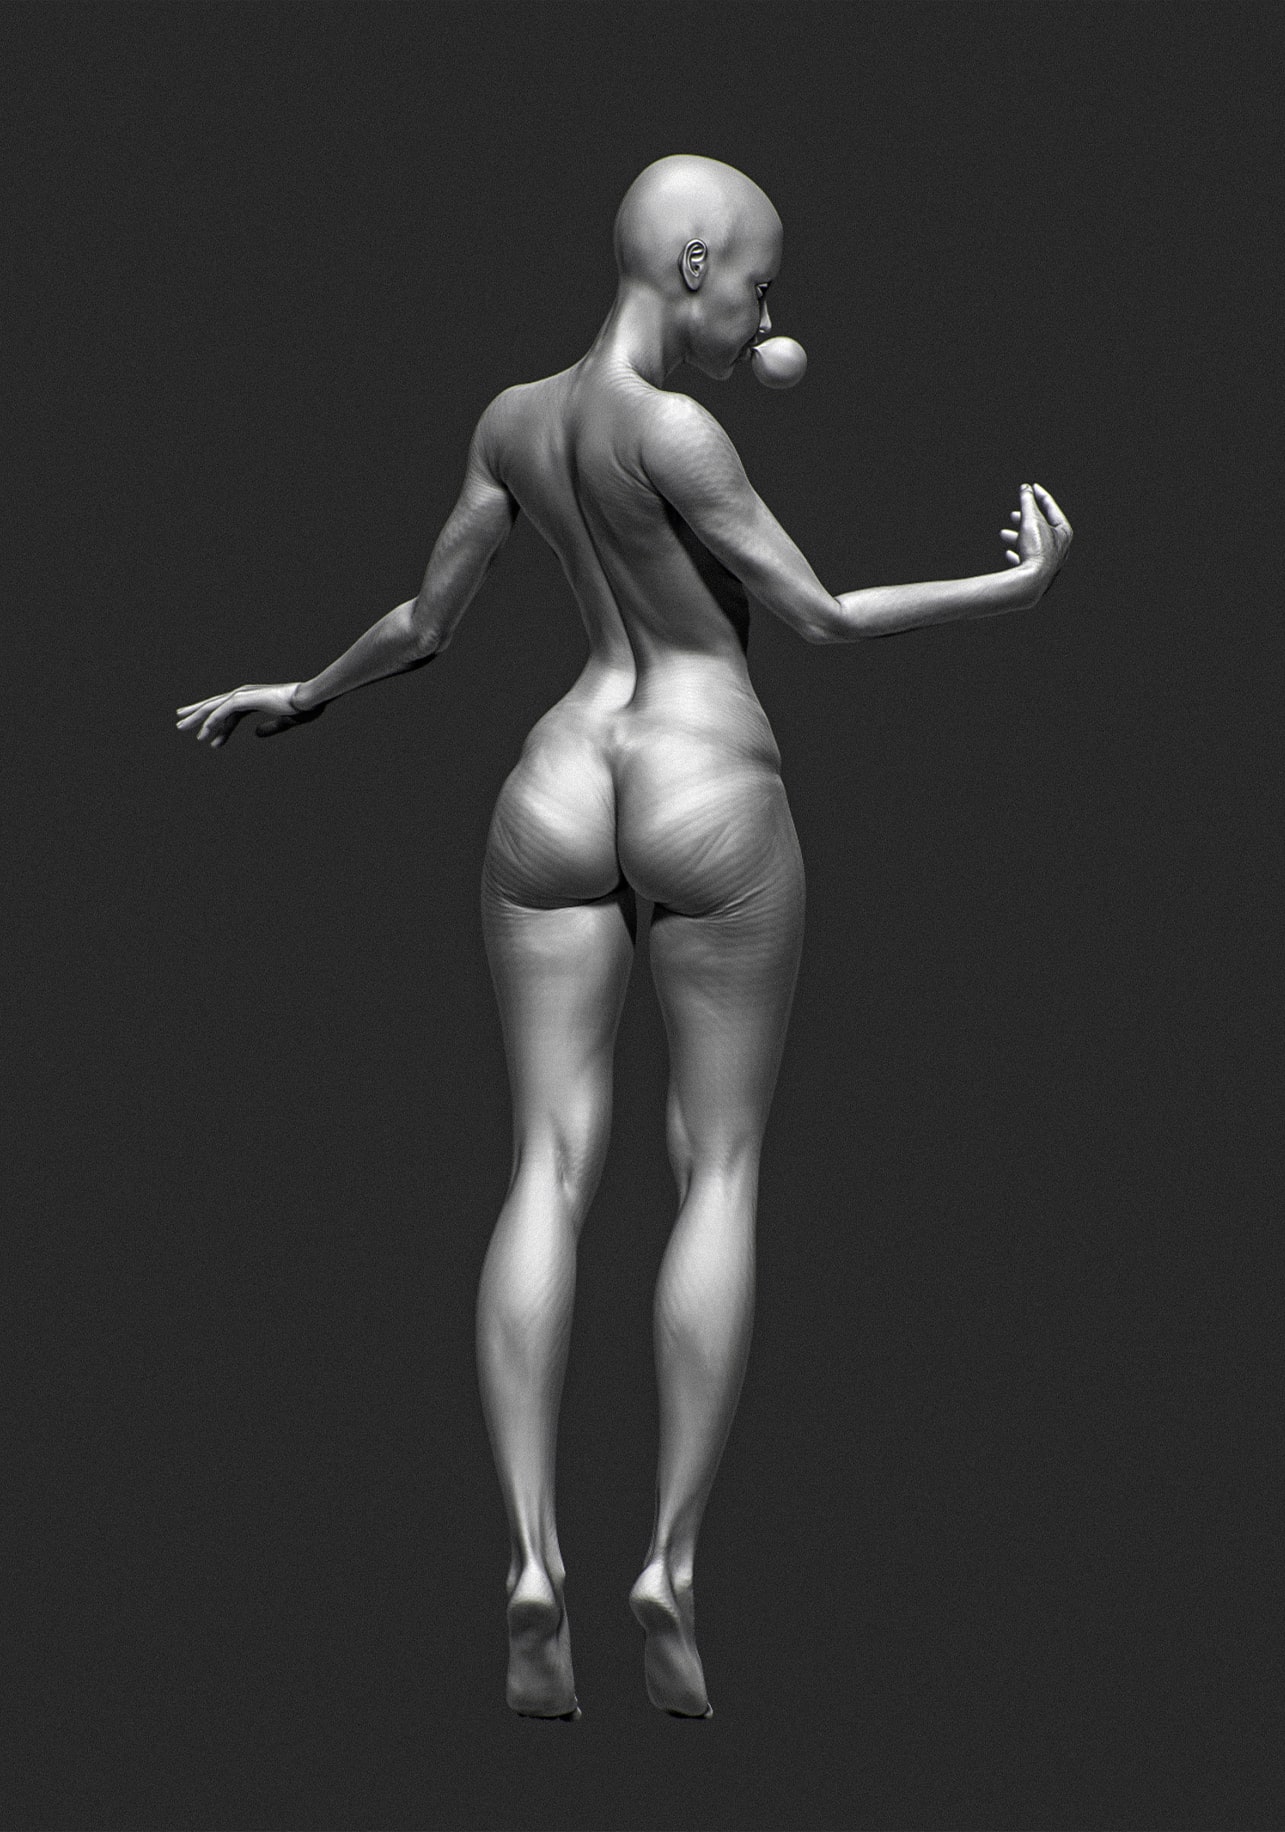
CHARACTER
Female Anatomy Study


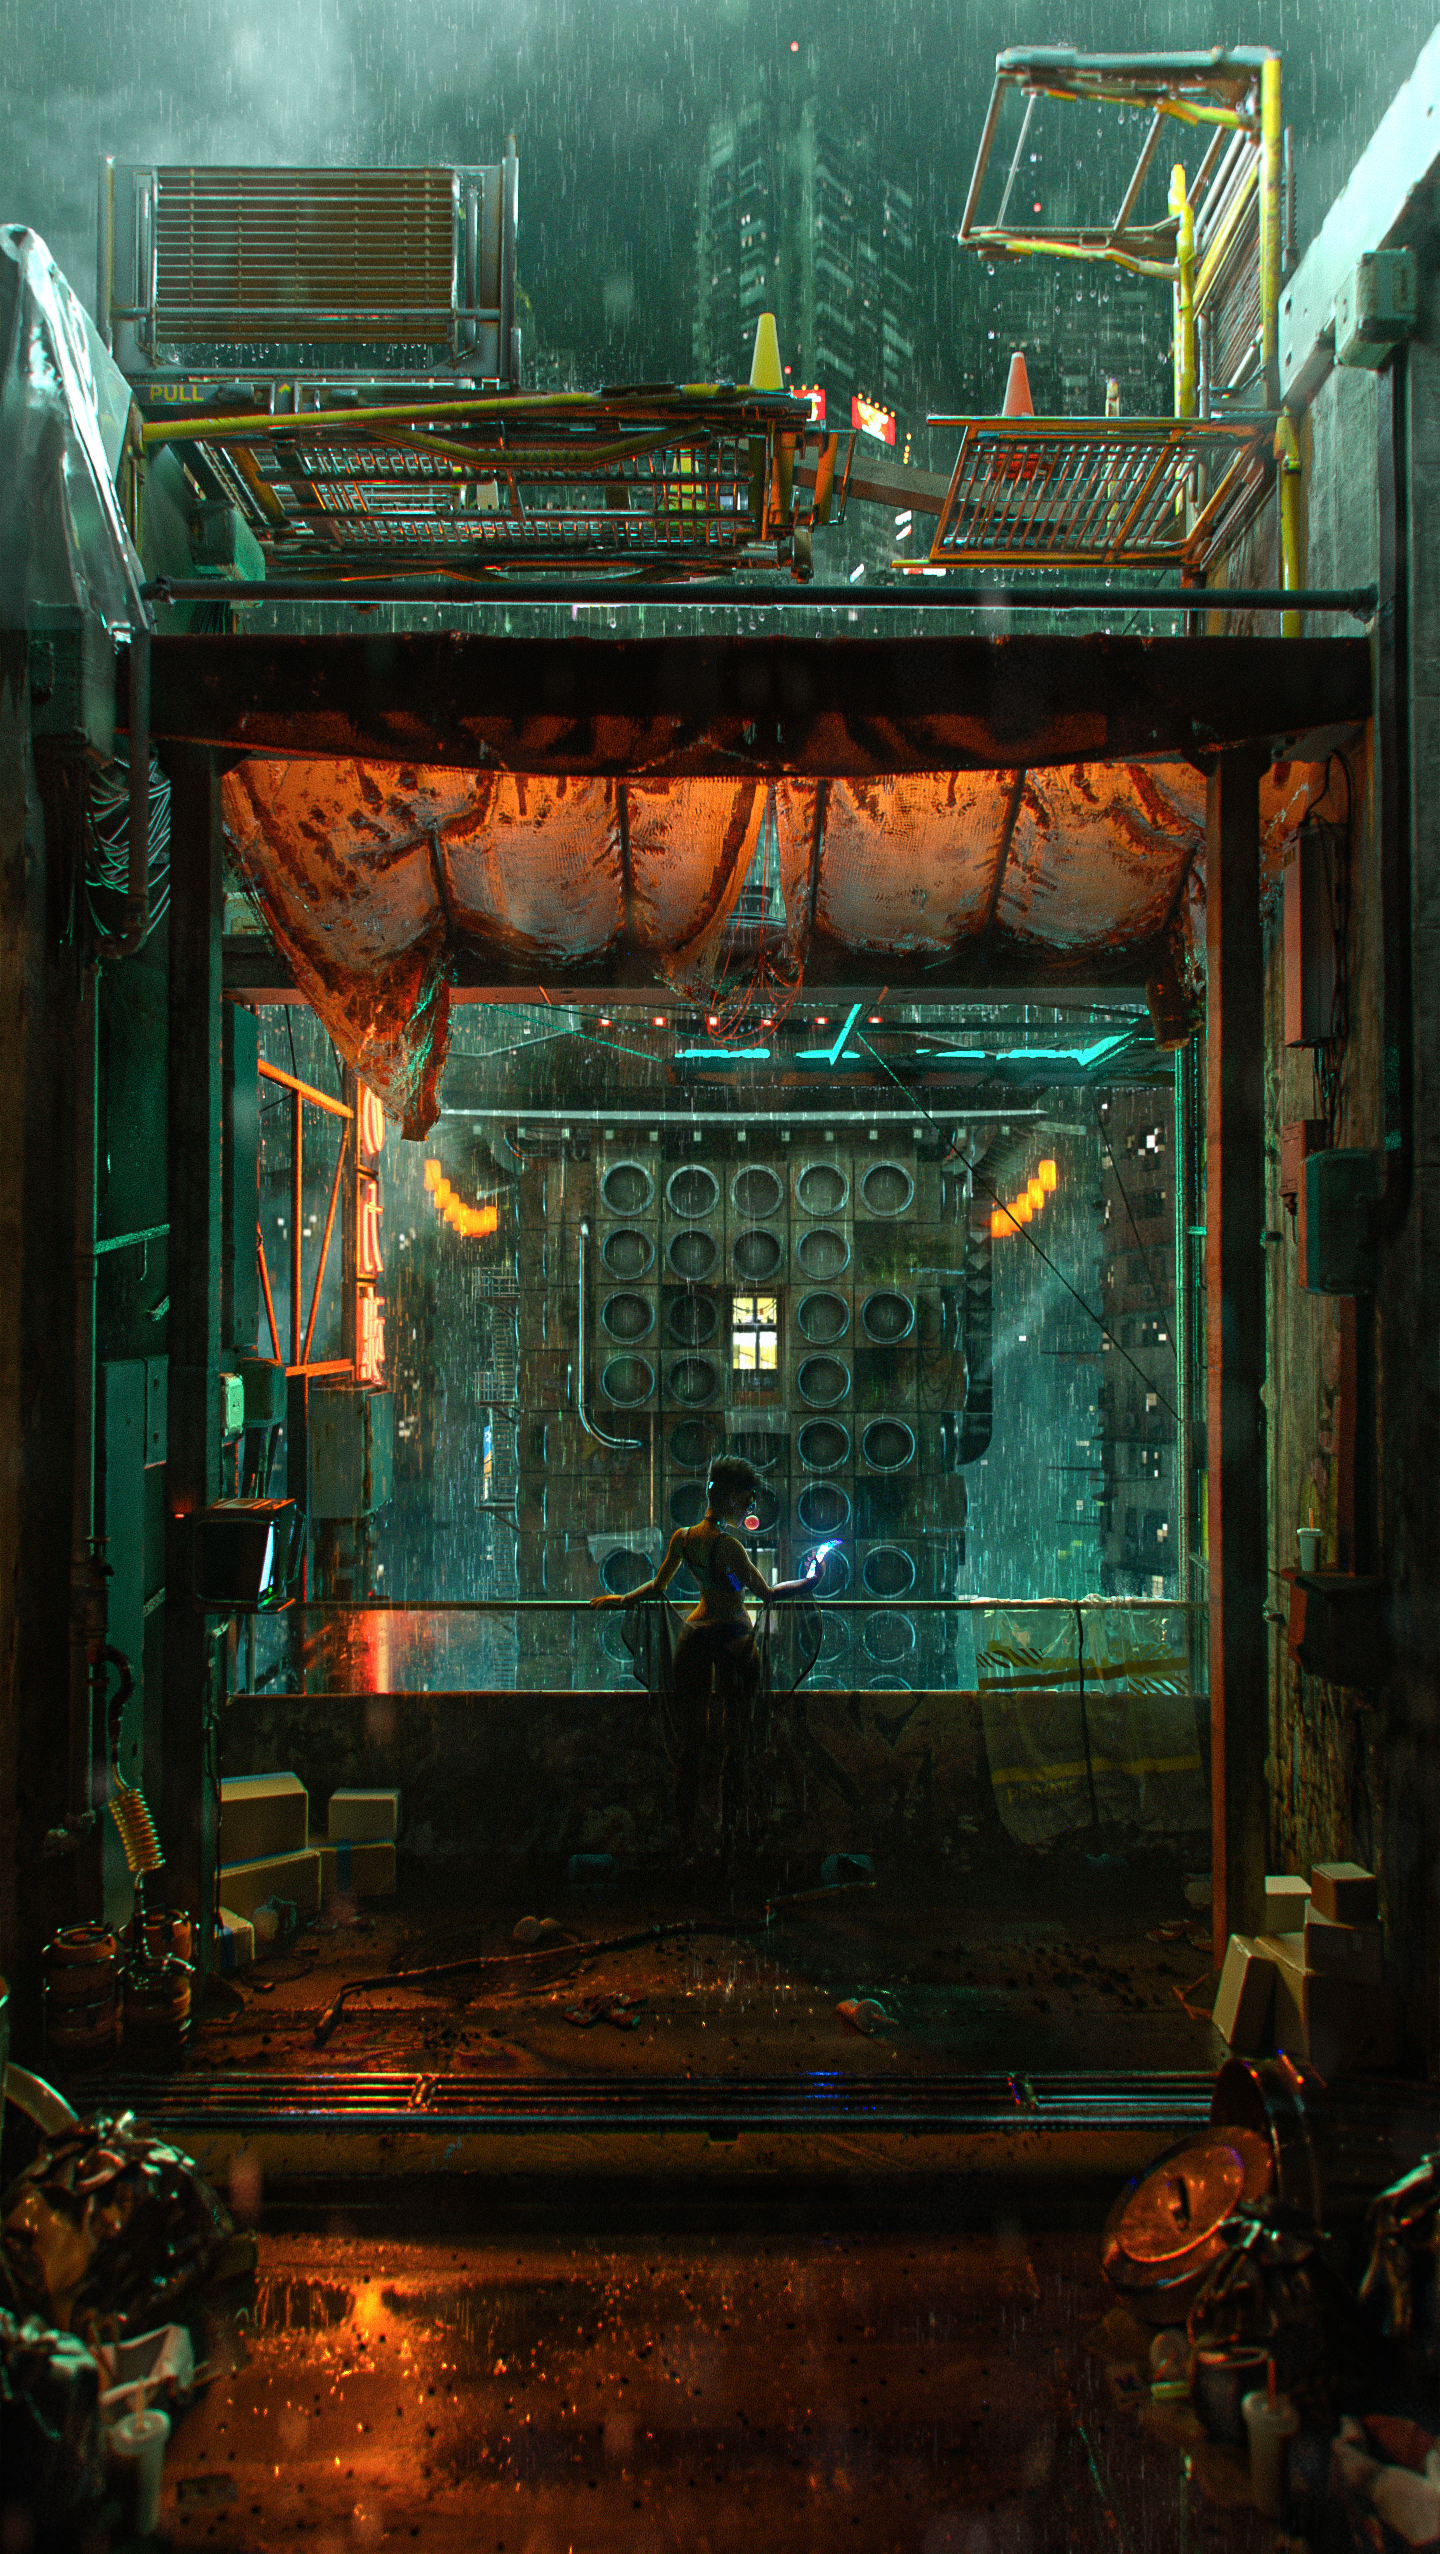
ENVIROMENT
Scene Composition
THE FIRST
To finish, this concept will establish part of the look and feel of the world of Codename: ENOK CODEX® , an original IP with amazing characters and story that I cannot wait to share more about. There will be 9 designs with this one being the first.
ENOK CODEX
OVERVIEW
Finally, I could finish this piece, first one of the upcoming series that will establish the look, feel, and some characters of my upcoming original IP.
As much as I wanted to continue I think this exercise accomplished what was supposed to do, lots of learning on lighting and composition. Now it’s time to move on into the next piece of the series.
![]()

